
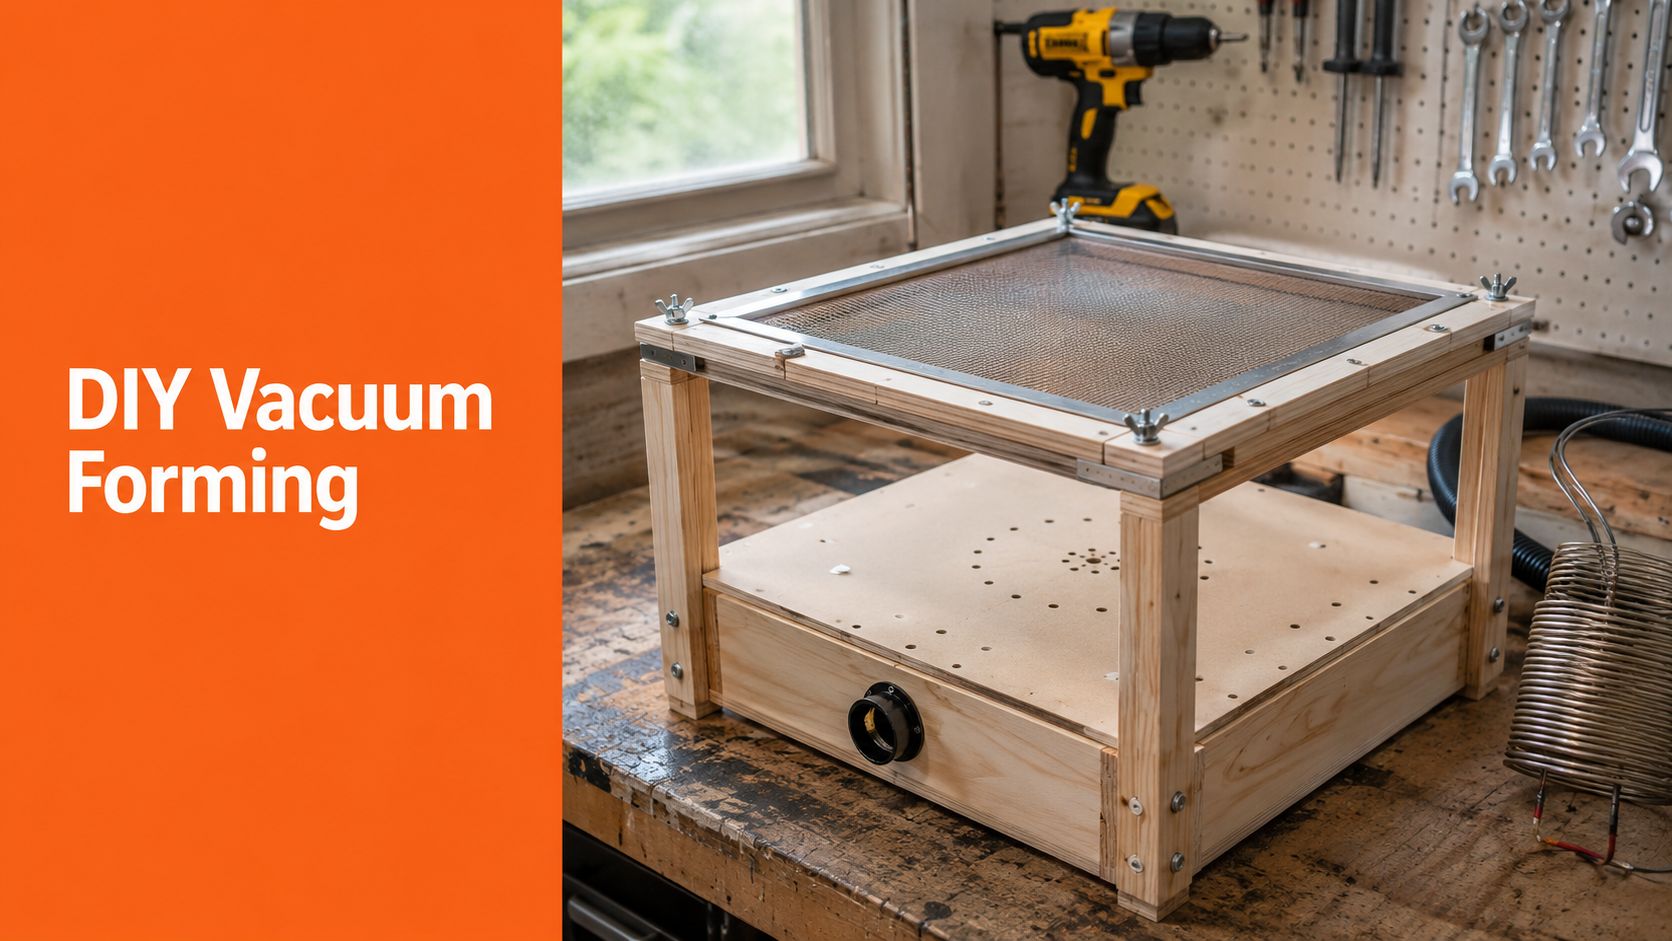
You've got a product idea in your head, maybe a rough CAD file on your laptop, maybe even a 3D print sitting on your desk. And yet the jump from concept to something you can hold, test, show, and repeat feels bigger than it should.
That's where a good vacuum forming machine DIY build changes the game. It lets you turn one mold into a stack of real shells, trays, covers, inserts, and packaging parts without paying a shop every time you want to tweak a detail. If you're building a physical product, that matters fast.
Many find themselves stuck after following the cheapest tutorial they can find, pulling one decent part, and assuming they're done. Then the second sheet tears, the third comes out soft, and the fourth sticks to the mold. That isn't a machine problem alone. It's a repeatability problem.
Why Your First Prototype Needs a DIY Vacuum Forming Machine
If you're early in product development, you need speed more than polish. You need to test fit, shape, thickness, and how a part feels in the hand. You also need to do it without burning your budget before you even know if the product deserves a production run.
That's why I like vacuum forming for founders. It fills the gap between rough one-off prototyping and expensive outside manufacturing. A 3D printer is great for masters, jigs, and mold patterns. It isn't always the best answer for thin shells, packaging inserts, covers, trays, or lightweight housings. Vacuum forming is.
A lot of makers first arrive here after they realize every outsourced prototype round slows them down. You send files, wait, pay, revise, and wait again. If that sounds familiar, it helps to look at product prototyping and design support in parallel with making your own forming setup, because the best workflow often mixes outside design help with in-house physical iteration.
Cheap is easy. Repeatable is harder.
The big problem with many online builds is simple. They chase the lowest possible price and stop at “it worked once.” That's not enough if you want parts you can compare side by side.
That matches what many makers learn the hard way. A machine that sort of works is like a mold with a hidden crack. It wastes time in a way that feels random until you trace the cause.
Practical rule: Your first machine shouldn't chase the absolute lowest price. It should chase predictable heat, tight seals, and reliable vacuum.
Why this tool matters early
A homebuilt former gives you control over three things founders usually need right away:
- Faster iteration: You can change a mold, pull another part, trim it, and compare versions the same day.
- Better user testing: Thin formed parts feel more like final consumer products than many rough printed parts do.
- Early small-batch capability: Once your setup is stable, you can make short runs for samples, pilot sales, or packaging tests.
That last point is where this stops being a hobby project. A solid vacuum forming machine DIY build is a small production tool. If you build it that way from the start, it can do more than prove an idea. It can help you sell the first version.
Sizing Your Machine From Desktop to Workshop
A founder builds a big vacuum former because bigger feels safer. The first test pull sags in the middle, the corners stay soft, the shop vac cannot keep up, and now the problem is harder to diagnose because every system is working at its limit. Size decisions do that. They lock in the heater load, the vacuum demand, the footprint, and the amount of wasted plastic on every pull.
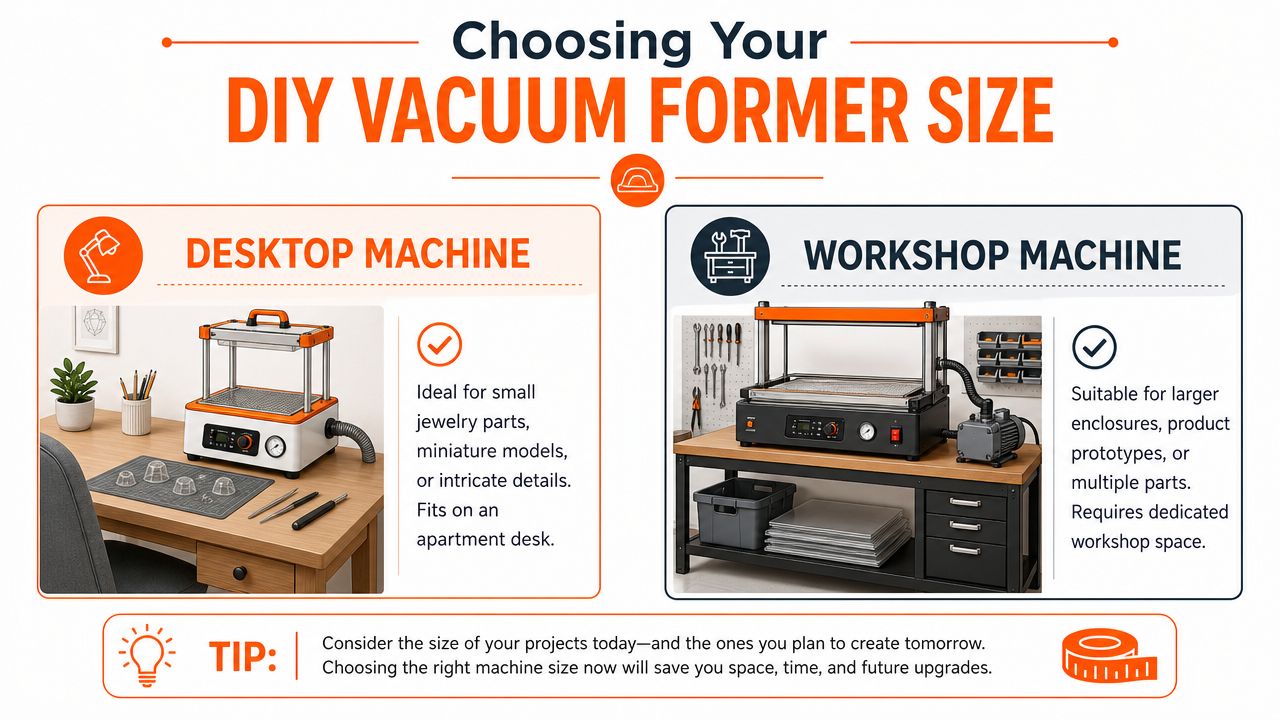
For repeatable parts, machine size starts with your actual mold set. Measure the longest and widest mold you expect to run in the next six to twelve months. Then add room for clamp area, airflow around the part, and trimming margin. That gives you a useful bed size. Guessing from a future product line usually leads to a machine that is harder to heat evenly and harder to seal well.
Three realistic build scales
I group DIY builds into three sizes because each one changes how forgiving the process is.
| Build type | Best use | Trade-off |
|---|---|---|
| Desktop | Small parts, inserts, detail studies, packaging mockups | Easy to store and heat evenly, but easy to outgrow |
| Mid-range prototyper | Product housings, trays, repeat test parts | Best balance of capacity, control, and cost |
| Workshop model | Larger shells, multiple parts per pull, small-batch output | Higher throughput, but stricter demands on heat, seals, and vacuum |
Desktop machines are useful learning tools and can be productive if your parts are small. Mid-range machines are where many founders should start, especially if they already use a 3D printing prototyping workflow for new product development and need formed parts that match that pace. Workshop-size builds make sense when part size or output volume already justifies the extra complexity.
What changes as the bed gets larger
Every extra inch of bed area asks more from the machine.
A larger frame needs flatter clamping surfaces or it will leak. A larger sheet needs more even heat or one side will web and the other will stay stiff. A larger platen needs stronger airflow or detail drops off fast, especially on taller molds and sharper corners. Cheap tutorials often skip this part because a single lucky pull looks convincing on camera. Small-batch production exposes the weak spots within a few sessions.
That is why I prefer sizing from process limits instead of ambition. If you can heat a smaller sheet evenly and pull it hard every time, you will produce more usable parts than a larger machine that only works on its best day.
Budget by performance, not footprint
Bigger machines do not just cost more in material. They also force upgrades in the parts that matter most. Heater coverage gets wider. Frames get heavier. The vacuum path needs better seals and more flow.
If your budget is tight, put the money into airtight construction and a vacuum source that matches the machine size. For a compact build, an affordable Ryobi 18V vacuum can be enough for shallow parts and bench testing. It is not the right choice for deep draws or larger platens, where limited airflow quickly shows up as rounded detail and inconsistent pulls.
How to choose without overbuilding
Use the largest part you plan to run soon, then choose the smallest machine that gives it proper margin.
- Choose desktop if your parts are small, shallow, and you care more about quick learning cycles than output.
- Choose mid-range if you want one machine that can handle prototypes now and repeat short runs later.
- Choose workshop if your molds are already large or you need to pull multiple parts per sheet to make the numbers work.
My bias is clear. The mid-range prototyper is usually the smartest first build for a business-minded maker. It gives enough room to make saleable parts, but it does not punish you as hard for minor mistakes in heater layout, sealing, or vacuum plumbing.
A smaller machine that pulls clean parts every week beats a larger machine that only produces one good demo piece.
Your Shopping List for a High-Performance Build
Parts lists online usually read like a scavenger hunt. You get a vague mention of wood, a heating source, some hardware, and a vacuum source. That's enough to build something. It isn't enough to build something you trust.
I'd separate the machine into four systems: the vacuum box, the clamping frame, the heater, and the air path. If one of those is weak, the whole machine acts weak.
Buy for stiffness, seal, and visibility
Start with the body. The vacuum box has one job. Hold suction without leaking. The clamping frame has one job. Hold plastic flat while it heats and moves.
Use material that stays straight under heat and repeated handling. Thin, flimsy pieces save money once and annoy you forever. Your frame should close square, the plastic should clamp evenly, and your sealing faces should stay flat.
Here's how I think about the list:
- For the platen surface: Use a flat sheet you can drill cleanly and seal around.
- For the box walls: Use material that won't flex when the vacuum pulls down.
- For the frame: Use metal or stable stock that won't twist after repeated heat cycles.
- For seals and joints: Use caulk, gasket material, and mechanical fasteners. Glue alone isn't enough.
The vacuum side
A lot of cheap builds use whatever vacuum source is nearby. That can work for basic shapes, but it often becomes the ceiling on detail and consistency.
If you're experimenting on a budget, a compact wet-dry unit can still be useful for the first stage of learning, jigs, cleanup, and light forming tests. I'd rather point you to a practical option than pretend everyone starts with a dedicated pump. An affordable Ryobi 18V vacuum is the kind of tool that makes sense in a small shop when portability matters.
That said, don't confuse convenience with ideal performance. The verified guidance is clear that DIY units usually don't match the vacuum pressure of commercial machines, which limits how much detail you can pull. If your parts need crisp definition, your vacuum source and your leak control matter more than fancy cosmetics.
The heating side
The heater has to do one thing well. Warm the whole sheet evenly while you watch it. Uneven heat is why one side sags while the other side stays stiff, which is how you get ugly pulls before the vacuum even gets a fair chance.
If you're pairing this build with printed molds or masters, it helps to keep your prototyping workflow tight. That's why I like keeping 3D printing resources in one place. Print the mold, seal and sand it, then move straight to forming.
A weak heater makes the vacuum look weak, even when the real problem is uneven plastic temperature.
Small hardware that matters more than people think
Cheap tutorials usually rush this part. Don't.
You need good hinges or a stable lift approach, dependable switches, heat-safe wiring choices, and enough mechanical fastening to keep the machine aligned after repeated use. When a frame shifts slightly, your seal changes. When your seal changes, your results change.
A smart shopping list isn't about buying expensive parts. It's about buying parts that remove variables. In vacuum forming, every variable you remove is one less ruined sheet.
Assembling the Frame Heating Element and Vacuum Box
A DIY vacuum former starts earning its keep at assembly. This is the point where a one-off hobby build either turns into a machine that repeats the same result, or a frustrating box that gives you one good pull out of ten.
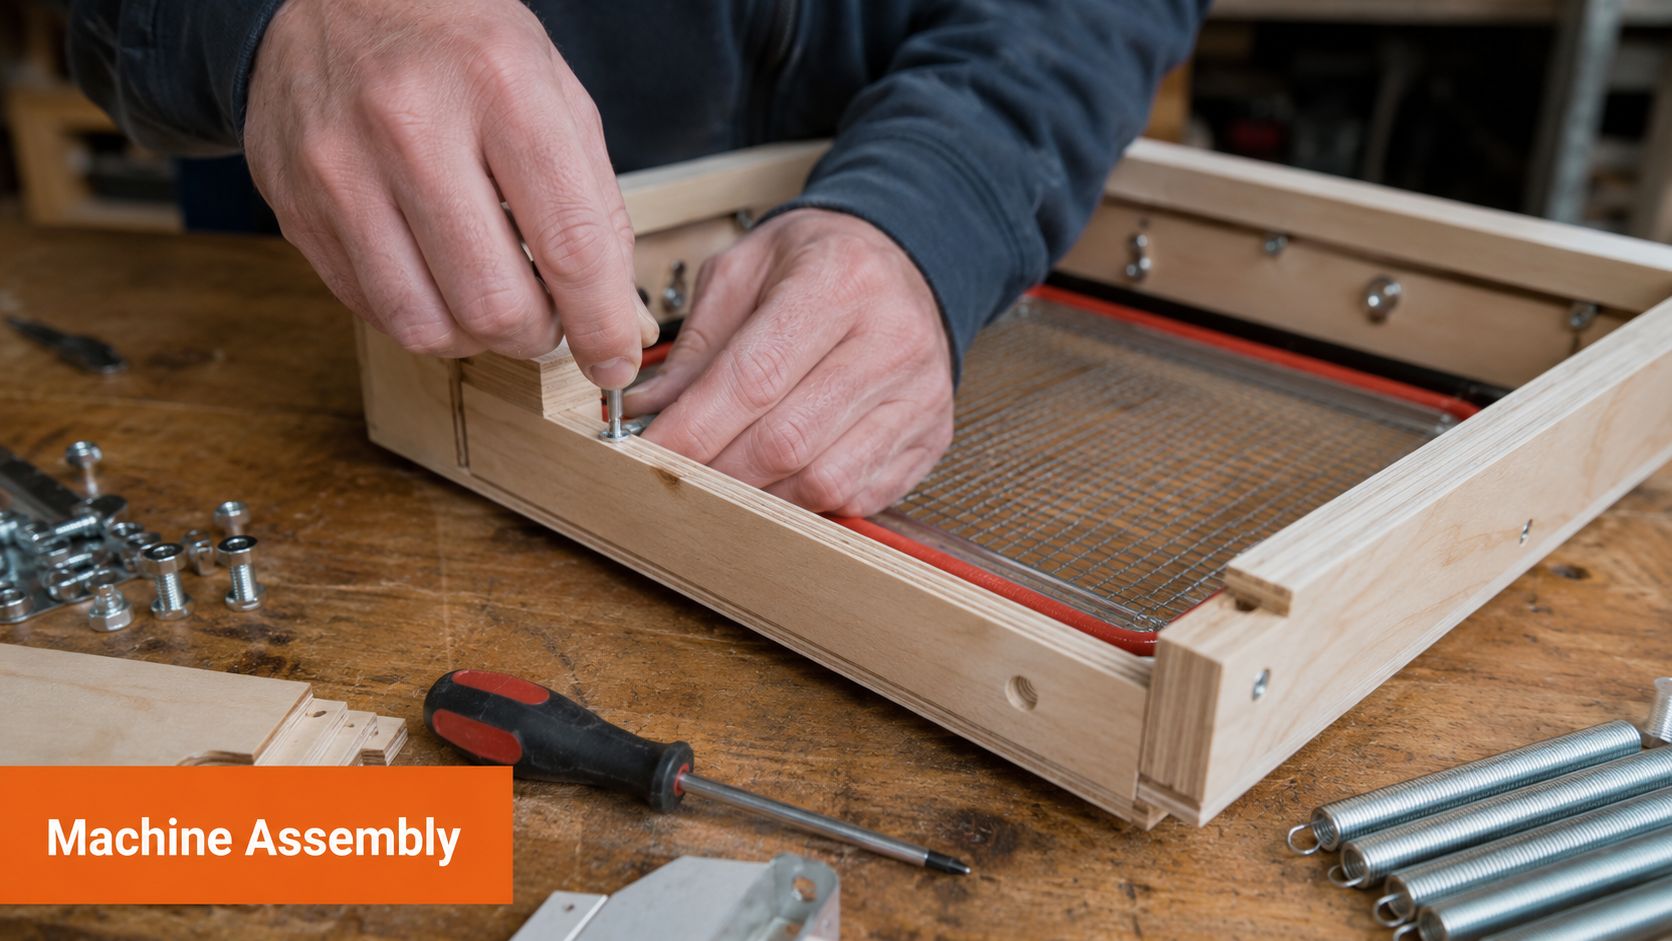
Build in process order. Start with the vacuum box, because everything depends on sealing and airflow. Then make the clamping frame, because it controls how consistently the sheet lands. Finish with the heater, because heating performance only matters once the mechanics are repeatable.
Build the vacuum box first
The vacuum box has one job. Move air fast, across the whole platen, without leaks.
Cheap tutorials often show a box made from whatever scrap is nearby, then skip over flatness, gasketing, and hose connection details. That is why so many DIY machines manage a single lucky success and struggle after that. For small-batch production, the box has to stay flat after heat cycles, seal the same way every time, and survive being bumped around a shop.
Use material that stays stable. Plywood works if it is thick enough and braced well. MDF machines easily and seals well, but it hates moisture and can swell if your shop is damp. Metal tops are durable and flat, but they take more effort to drill cleanly and mount properly.
Box build checklist
- Keep the platen flat: Any bow or twist shows up as weak sealing around the frame.
- Seal every joint: Wood glue alone is rarely enough. Use caulk or gasket maker on inside seams.
- Use a proper hose port: A loose friction fit will leak and eventually fail.
- Drill an even hole pattern: Dead zones in the platen create dead zones in the part.
- Support the underside of the top: Large unsupported spans can flex under heat and clamping pressure.
One practical choice is a shallow plenum under a perforated top. That reduces wasted internal volume, which helps the vacuum source react faster when the hot sheet drops. A huge empty chamber looks impressive and usually performs worse.
Build the clamping frame second
The frame decides whether the hot sheet arrives square, tight, and on time.
Make two matching frames from aluminum angle, plywood, or steel flat bar. Aluminum is usually the best balance for a serious DIY build. It stays straighter under heat than wood, weighs less than steel, and does not char if you get the heater distance wrong. Wood frames are cheaper and easier to make, but they can warp, scorch, and loosen around fasteners after enough cycles.
Clamp pressure matters more than people expect. If one side grips harder than the other, the sheet can creep during heating and pull off-center during the drop. Hinges help with alignment, but they are not magic. If the hinge side binds or the frame racks slightly, you lose repeatability.
Dry-run the movement with cold plastic before you wire anything. Open, close, clamp, lift, and drop the frame until it feels automatic. If the motion is awkward cold, it will be worse with a soft sheet sagging in front of a hot heater.
A two-handle setup or balanced side handles usually gives better control than a single center handle. The goal is a fast, level drop with no fumbling.
Build the heater so you can control the plastic, not guess at it
The heater needs to warm the usable sheet area evenly enough that the plastic sags in a predictable shape, not a lopsided one.
There are several workable heater options. Quartz heaters respond quickly and let you see the sheet clearly. Grill elements and toaster-oven elements are easy to salvage, but spacing and hot spots can become a problem. Ceramic heaters hold heat well, though they can be slower to respond. The right choice depends on budget, available power, and the sheet sizes you plan to run.
Keep the heater face parallel to the frame. Uneven distance from heater to plastic creates uneven softening. Add reflective shielding where it helps, and keep the structure around the heater heat-safe. Screws backing out, timber drying and cracking, and insulation sagging into the hot zone are all common DIY failures.
Watch the sheet, not the clock. A repeatable machine still needs visual confirmation that the material is heating evenly.
Wiring in plain English
Treat the heater and vacuum as separate systems. They may run in the same build, but they create different risks and need different attention.
- Place switches where you can reach them without crossing the hot zone.
- Use wire rated for the temperatures near the heater.
- Clamp and protect cables at every movement point.
- Ground metal parts properly.
- Test vacuum flow and leaks before the first heated run.
If you are not comfortable wiring mains voltage, get help from an electrician. Saving money on the build is not worth a fire or a shock hazard.
If you're shaping production-minded molds, reading through design best practices for die and moulds helps sharpen your judgment on release, stability, and surface planning. Those choices affect how your machine performs long before the first pull.
Aim for repeatability, not cleverness
The best DIY vacuum former is usually a plain one built carefully. Flat platen. Airtight box. Rigid frame. Even heater. Controls you can operate without rushing.
That is the performance gap cheap tutorials miss. They show a formed part. They do not show whether the tenth sheet looks like the first. For anyone building a machine to support real product runs, that difference is the whole project.
Pulling Your First Part and Avoiding Common Pitfalls
You clamp a fresh sheet, bring it up to heat, make the drop, hit the vacuum, and the part still comes out soft in one corner and webbed in another. That first pull is where a DIY vacuum former stops being a shop project and starts acting like production equipment, or proves it still needs work.
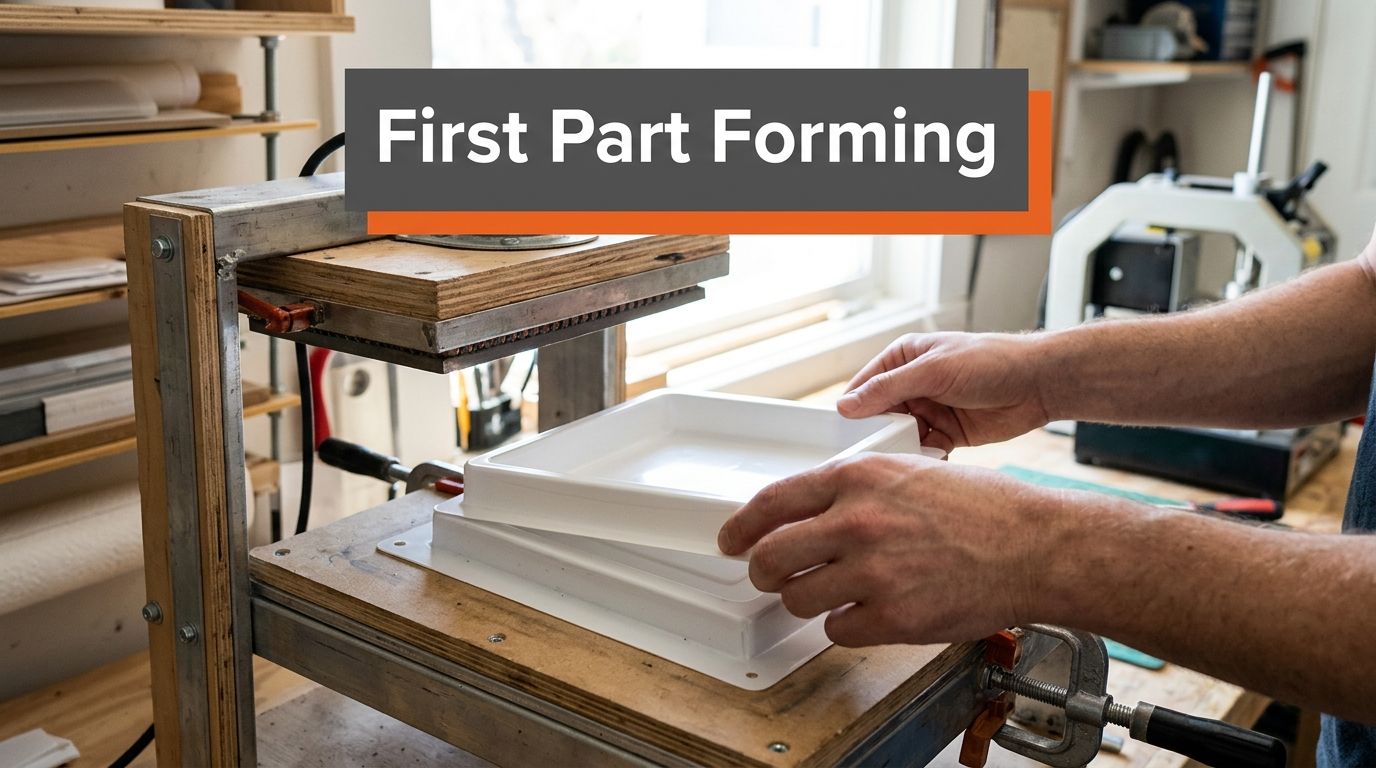
Cheap tutorials often end at one successful pull. That is not the standard to use if you want saleable parts. The goal is a process you can repeat without guessing, where the fifth sheet behaves like the first.
What a good first pull looks like
Watch the plastic itself. An even sag across the whole sheet tells you much more than a timer does. If one side droops early and the other stays tight, the problem starts before the vacuum ever comes on.
The sequence should feel quick and controlled. Heat the sheet until it softens evenly, lower it onto the mold without fumbling, pull vacuum immediately, and hold the part still long enough to set its shape. Thin material forms fast. Thicker sheets give you a slightly wider window, but they also punish uneven heating more aggressively.
A clean first pull usually shows three things at once. The flange seals. The sheet stretches without folding into itself. The details draw down before the plastic cools.
Problems that show up right away
Webbing and corner folds
Webbing usually means you have too much hot plastic trying to gather around tall features or tight spacing. Mold layout is often the cause. Parts placed too close together, sharp vertical walls, and deep corners all increase the chance of folds.
Fixes are practical. Reduce the heated area, add more space around the mold, round problem corners, or raise the mold height so the sheet starts stretching in a more controlled way.
Soft details and rounded edges
Soft parts are not always a vacuum problem. A weak heater can make the vacuum seem weak, when the actual problem is uneven plastic temperature. Check heat first, then leaks, then venting.
Deep recesses need a path for trapped air to escape. If the plastic bridges over a pocket, drill small vent holes in the mold at the low points and hidden corners. Good venting often matters more than adding more vacuum.
Sticking on release
Release problems usually start with mold design. Draft angle, surface finish, and undercuts matter more than people expect on a homebuilt machine.
Formlabs' vacuum forming guide gives a useful baseline: male molds should have at least a 3° draft angle, and female molds need at least 5°. Smooth surfaces and vent holes in tight areas also improve release and part definition.
A mold that releases cleanly saves more time than a faster heater. Bad release ruins parts, slows your cycle, and makes consistent output almost impossible.
If you want to understand whether your system is pulling hard enough, learn how to measure sub-atmospheric conditions. Even a basic grasp of vacuum measurement helps you stop diagnosing by feel.
A troubleshooting grid you can use in the shop
- Plastic tears: The sheet got too hot, stretched too far, or the mold has a sharp edge.
- Recesses stay shallow: Air is trapped. Add vent holes and confirm the seal around the platen.
- Center stays loose while edges form: Heat is uneven, or the vacuum box is leaking.
- Part locks onto the mold: Increase draft, improve surface finish, or remove undercuts.
- Every pull looks different: Your handling sequence is drifting. Standardize heat, drop speed, and cooling time.
Write those settings down. If you plan to turn prototypes into products, that habit matters just as much as the machine itself. A rough build can still produce usable parts if the process is stable, and that discipline carries straight into how to manufacture a product.
Watch this forming example before you run another cycle. It helps to see the rhythm.
Treat early pulls as calibration runs
Use the first several sheets to tune the machine, the mold, and your own timing. Keep notes on material, heater distance, sag, pull quality, and release. Patterns show up fast when you record them.
That is how you close the gap between a lucky demo and a machine you can trust for small-batch work.
Using Your New Machine for Small-Batch Production
A finished machine is nice. A repeatable process is better.
Once you can pull one clean part on purpose, you can start building a real small-batch workflow. That means using durable molds, trimming the same way every time, and keeping your heating and cooling routine consistent. If you change three things at once, you learn nothing. If you lock the process down, you can compare parts objectively.
Think like a tiny factory
Your machine is now a production tool for short runs. Use it that way.
- Standardize your mold prep: Smooth surfaces and reliable release matter more when you make multiple parts in a row.
- Track your material choices: Different plastics and thicknesses behave differently, so keep notes.
- Build around repeat motion: The less awkward your loading, heating, drop, and release steps are, the better your output stays.
Founders gain a real edge. You can make product shells, inserts, simple enclosures, and packaging tests without waiting on someone else's schedule. If you're moving toward actual manufacturing, it helps to study the path from prototype to production through how to manufacture a product.
The machine doesn't replace full-scale manufacturing. It gives you an advantage before you're ready for it. That advantage is what lets you test, revise, and sell early without acting blind.
Chicago founders usually don't need more noise. They need honest feedback, sharp operators, and a room full of people who've built things. Chicago Brandstarters is a free community for kind, hard-working founders who want that kind of support while they turn ideas into real products and real businesses.
Leave a Reply